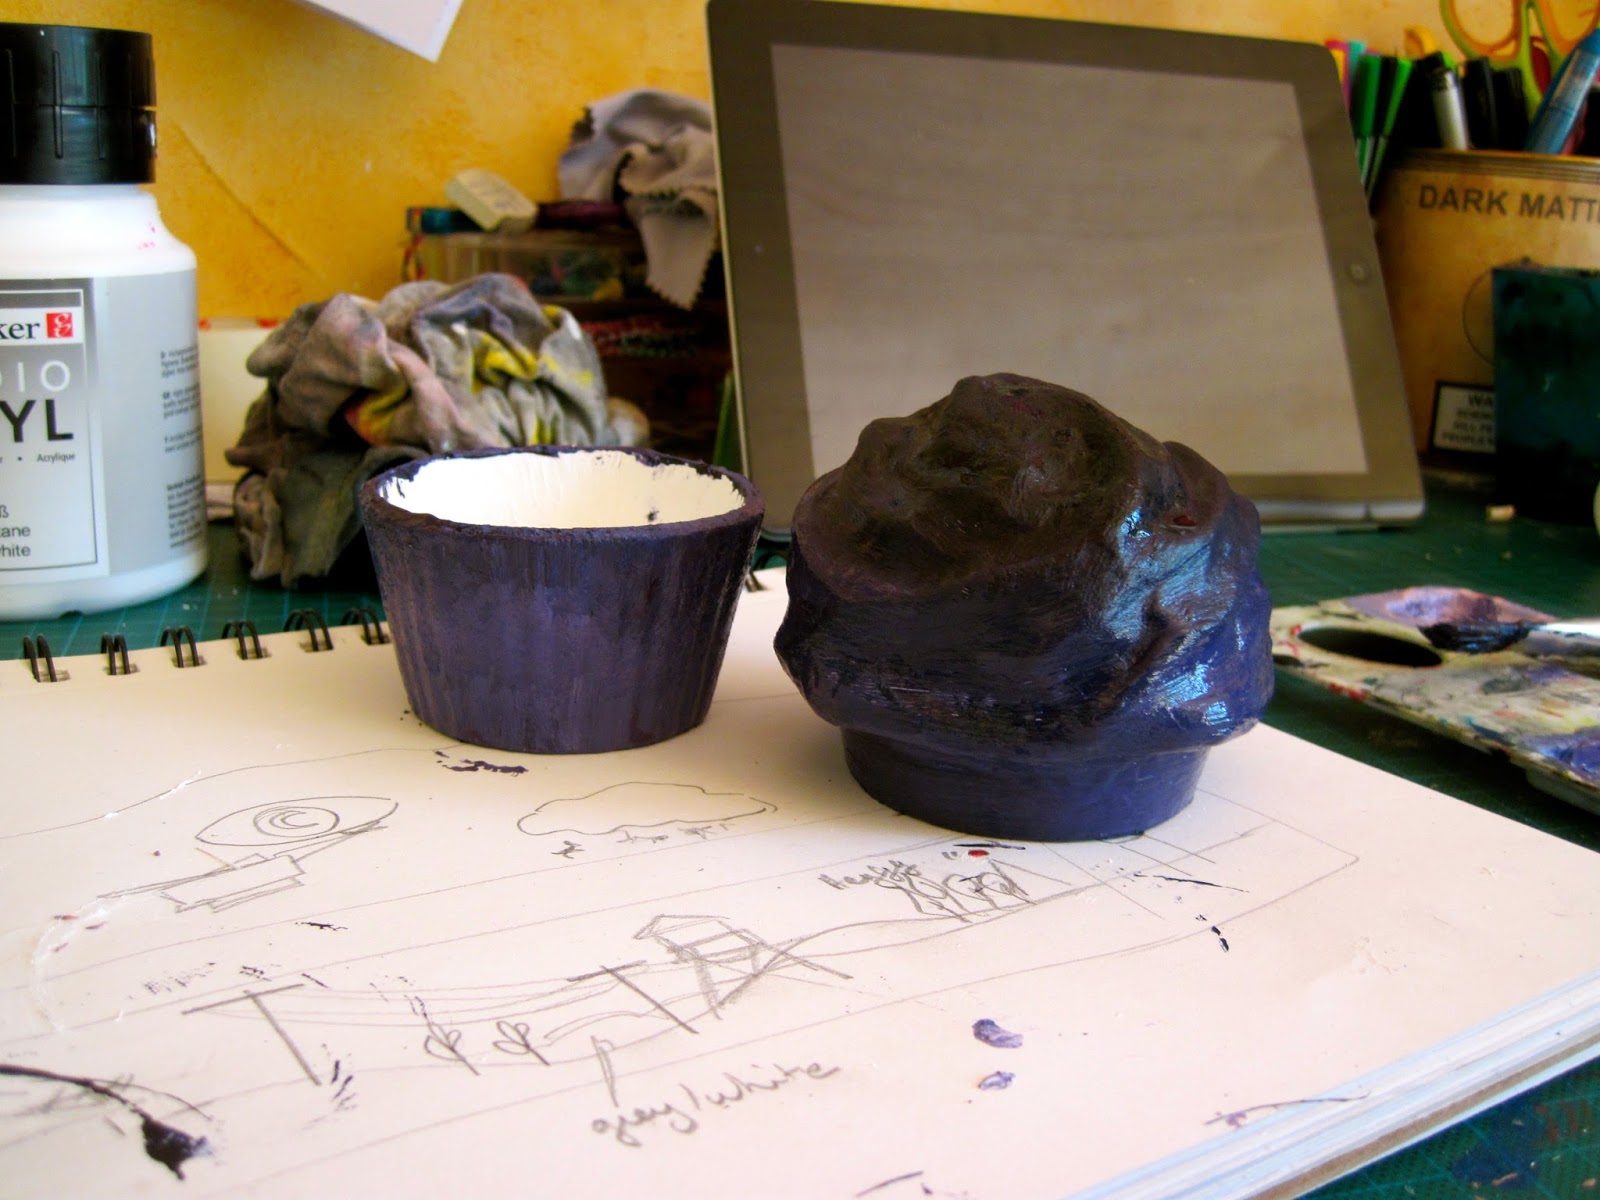
Two days ago I was walking through Papietrie Michelle when I found an adorable paper maché cupcake. A few minutes later and I had bought it. But what to paint on it?
Quick answer: Night vale.
Here's the process I used to create this odd item, which is basic Paper Maché painting. Sometime soon I will make a prop for scratch so as to show the full process.


Next, coat the entire surface of the model in white paint or (better yet) gesso. This is let your top colors become more vibrant, because the first layers will always soak through. It gives you a nice surface to paint on.
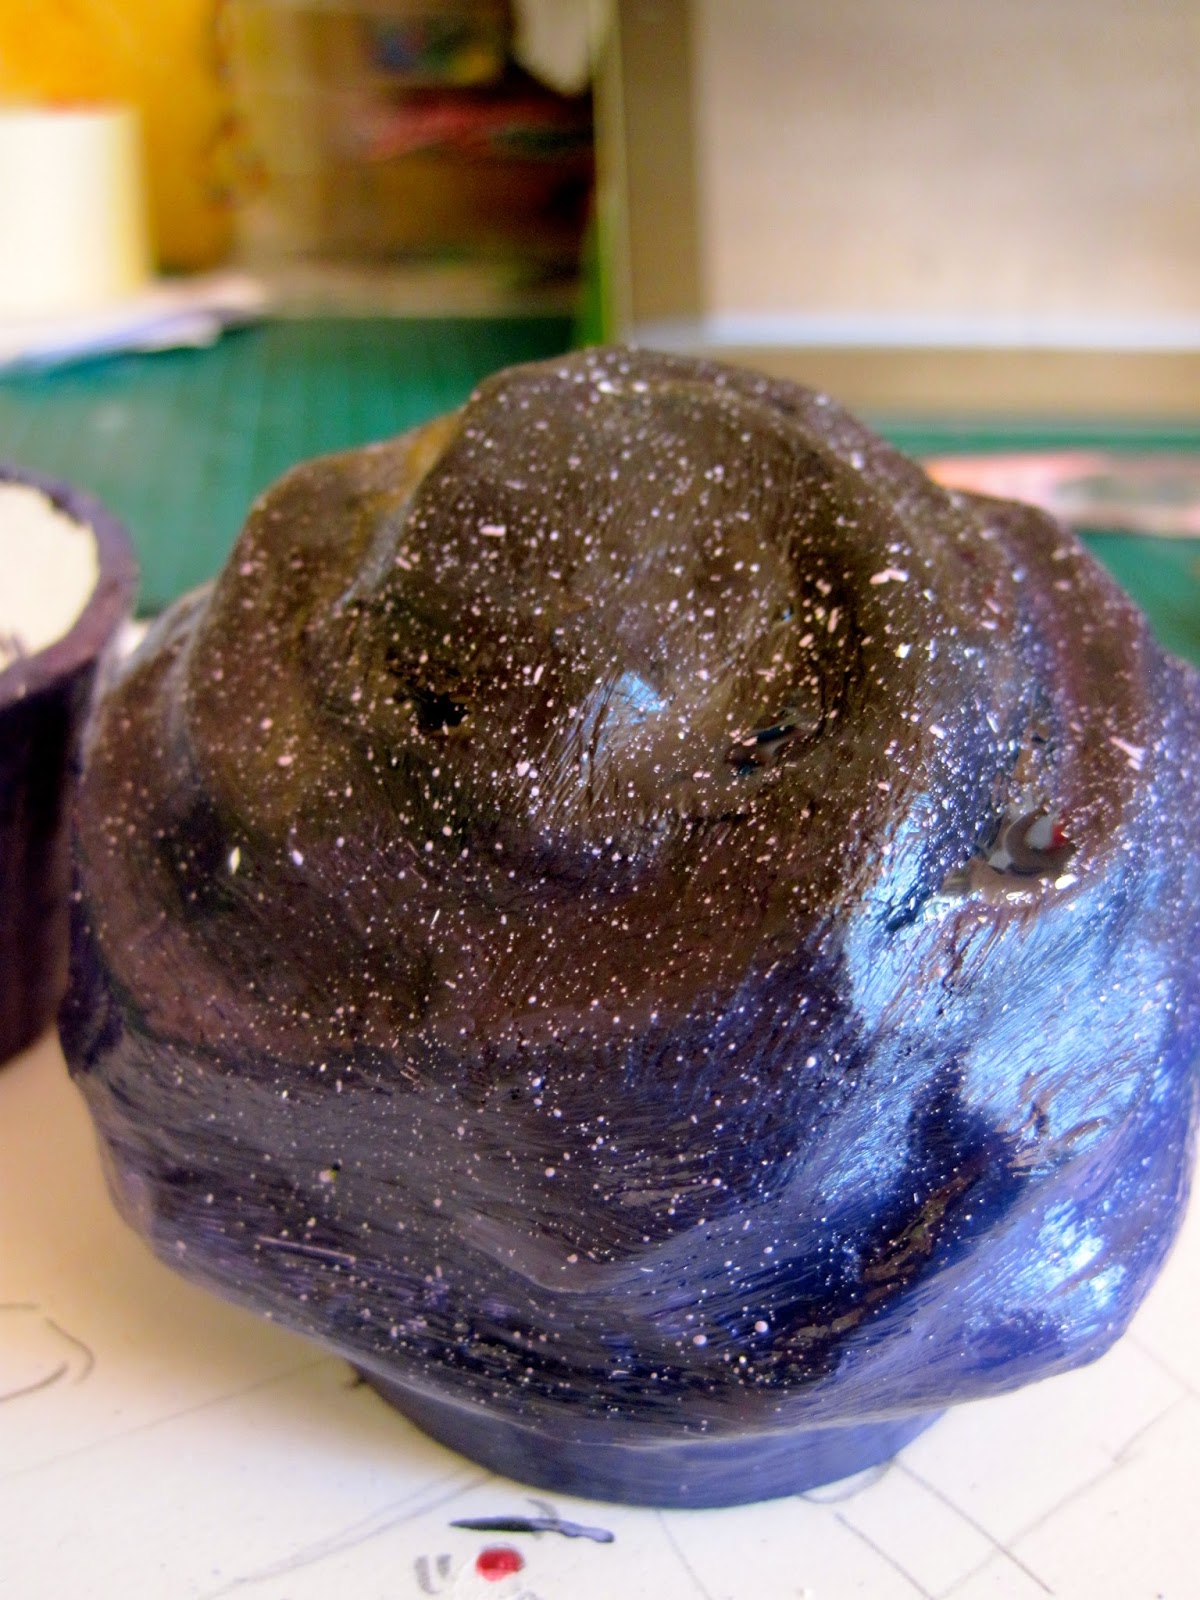
Next, you're going to want to paint your background entirely. If you're using acrylics, use a little water to blend the colors together, so that it looks nice and smooth.
I then used a toothbrush to flick white and yellow dots of paint onto my model, to create stars. This is an easy process: add a little water (tiny bit!) to your paint to make it more fluid. Dip the front of an old toothbrush into the paint and point it, bristles down, at the area you want speckled. Run your index finger slowly over the bristles- and voila!
Careful, if your paint it too thin, your paint will run and create puddles.
Finally, paint on your final design. No need to rush it! You want it to be perfect.
And voila! Easy as pie! Or, as cupcake.


It's nice to have a fine tipped Posca pen to do the details. Owning a white one and a black one always comes in handy. I keep borrowing my white one from my sister, which I probably shouldn't. Anyway, they are worth the investment!
Hope this helped,
Sarah
No comments:
Post a Comment